These are user-submitted screenshots.
When you want to share screenshots for us to use, please use our Router Screenshot Grabber, which is a free tool in Network Utilities. It makes the capture process easy and sends the screenshots to us automatically.
This is the screenshots guide for the Dlink DNS-321. We also have the following guides for the same router:
- Dlink DNS-321 - How to change the IP Address on a Dlink DNS-321 router
- Dlink DNS-321 - Dlink DNS-321 Login Instructions
- Dlink DNS-321 - Dlink DNS-321 User Manual
- Dlink DNS-321 - How to change the DNS settings on a Dlink DNS-321 router
- Dlink DNS-321 - How to Reset the Dlink DNS-321
- Dlink DNS-321 - Information About the Dlink DNS-321 Router
All Dlink DNS-321 Screenshots
All screenshots below were captured from a Dlink DNS-321 router.
Dlink DNS-321 Status Screenshot
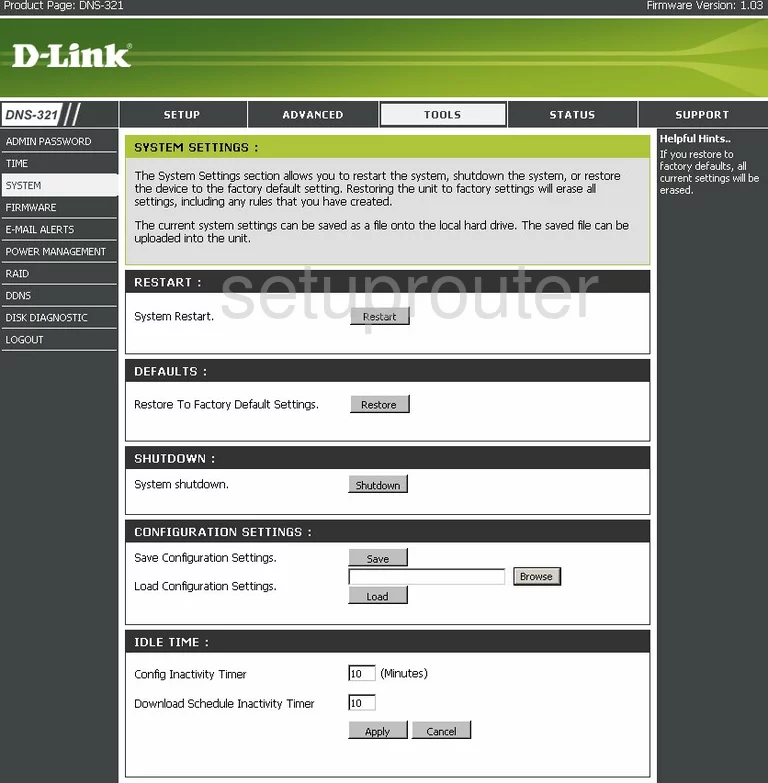
Dlink DNS-321 Firmware Screenshot
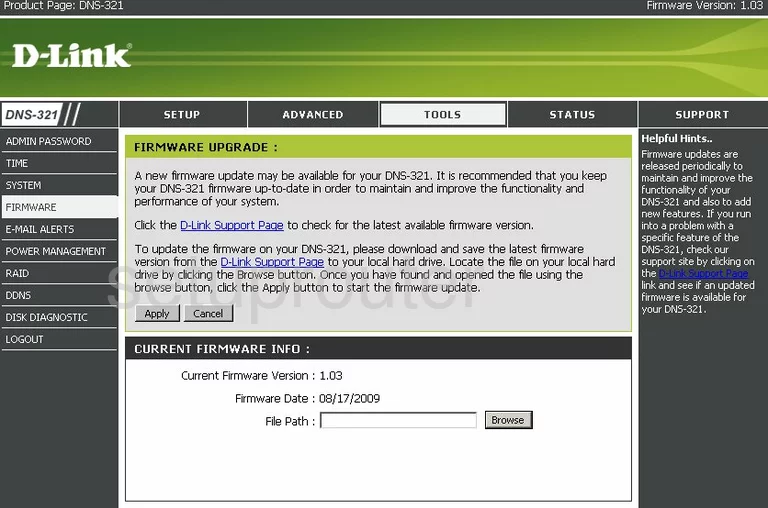
Dlink DNS-321 Login Screenshot
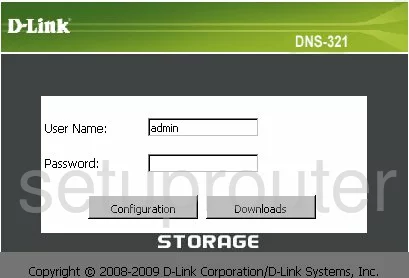
Dlink DNS-321 Setup Screenshot
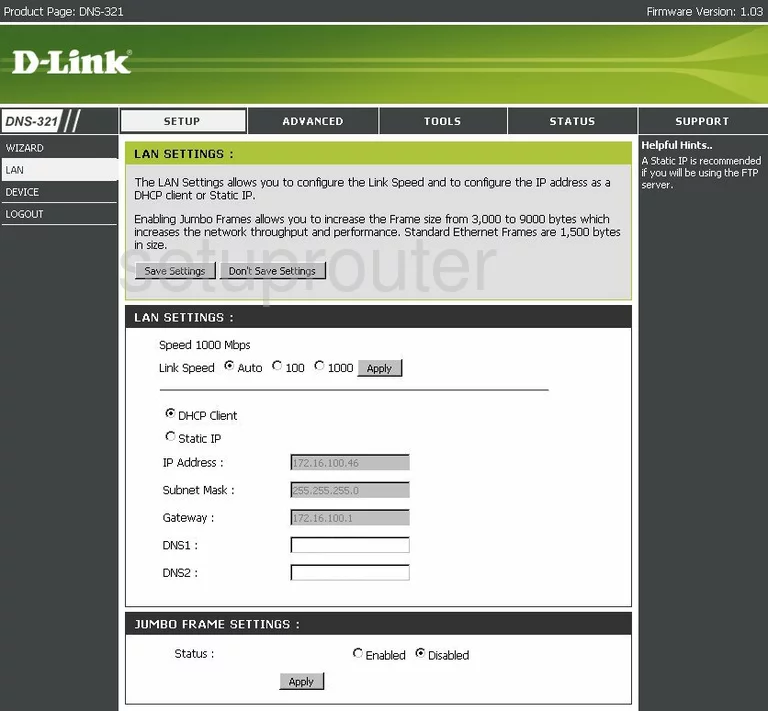
Dlink DNS-321 Setup Screenshot
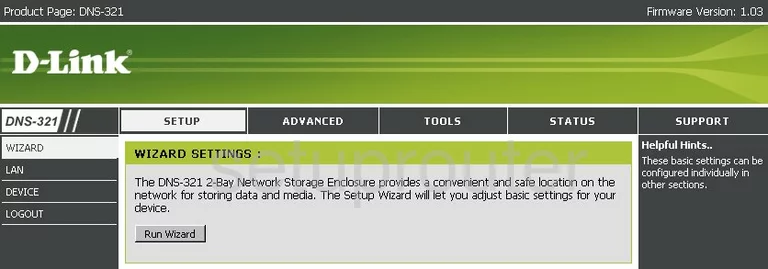
Dlink DNS-321 Log Screenshot
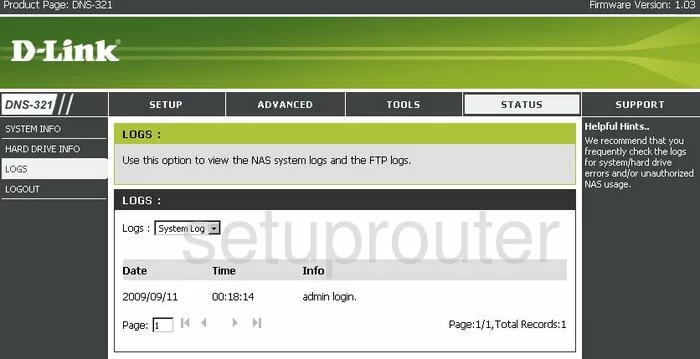
Dlink DNS-321 Dhcp Screenshot
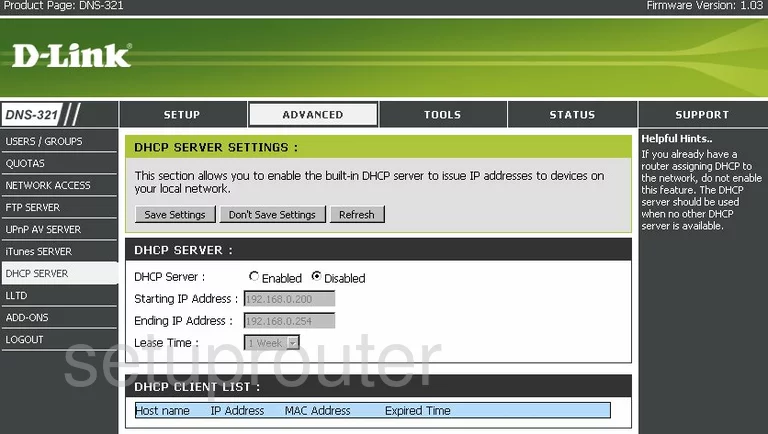
Dlink DNS-321 Time Setup Screenshot
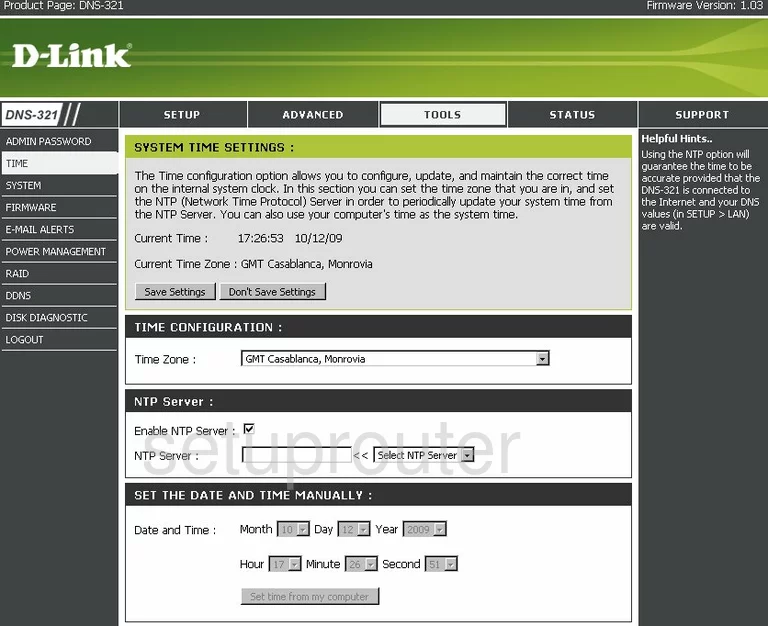
Dlink DNS-321 Password Screenshot
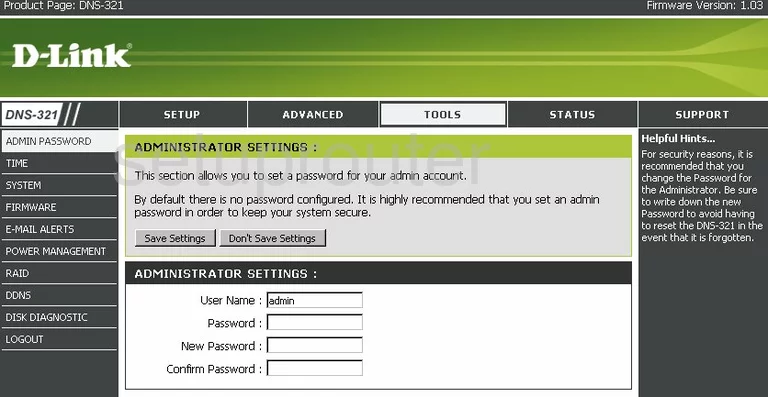
Dlink DNS-321 Status Screenshot
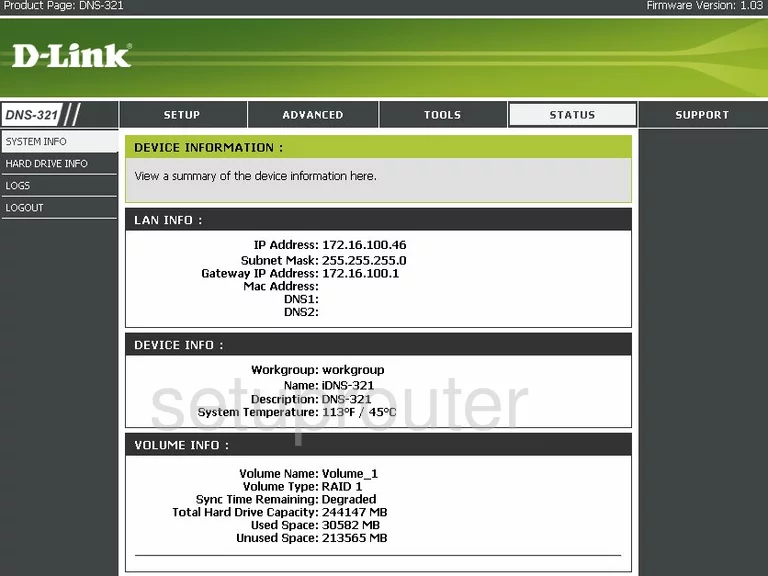
Dlink DNS-321 General Screenshot
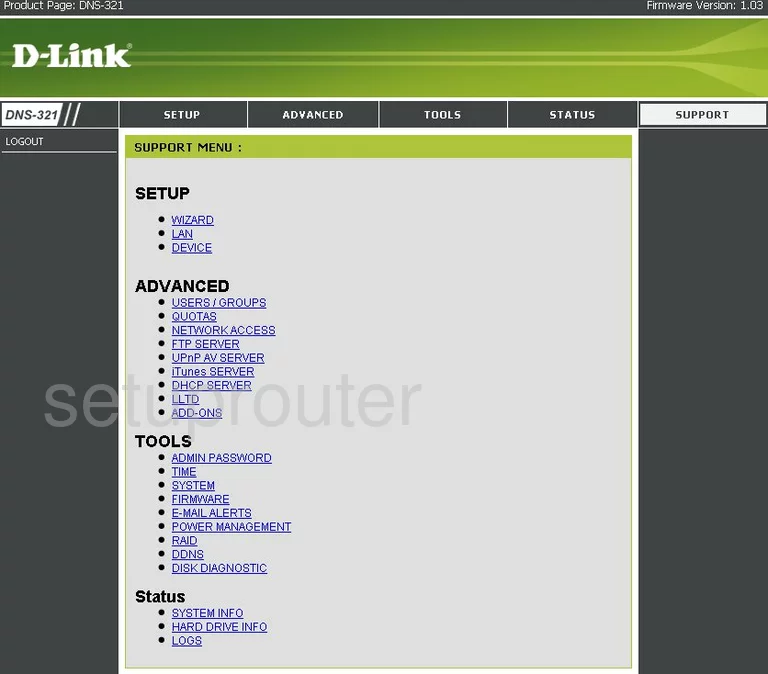
Dlink DNS-321 Dynamic Dns Screenshot
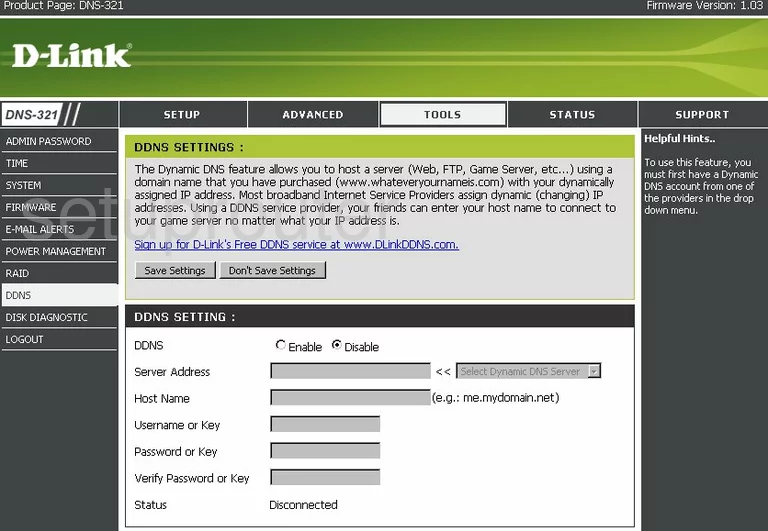
Dlink DNS-321 Upnp Screenshot
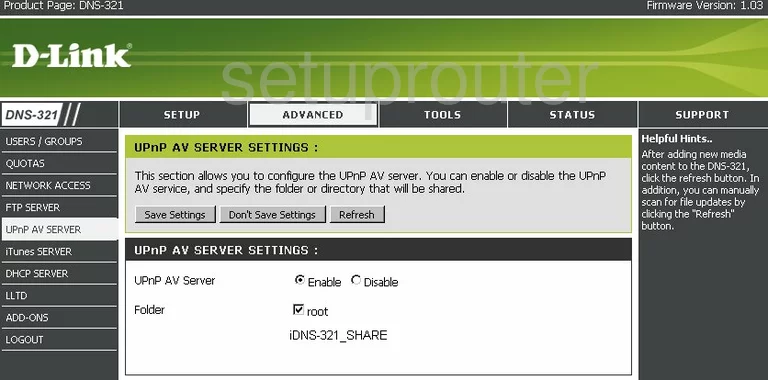
Dlink DNS-321 Ftp Server Screenshot
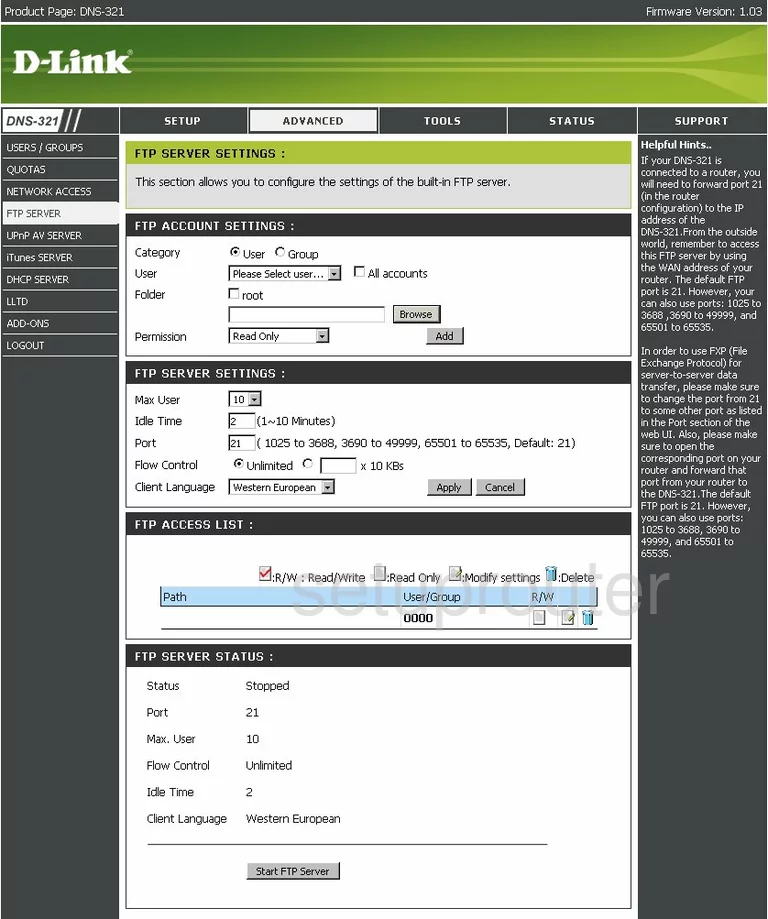
Dlink DNS-321 General Screenshot
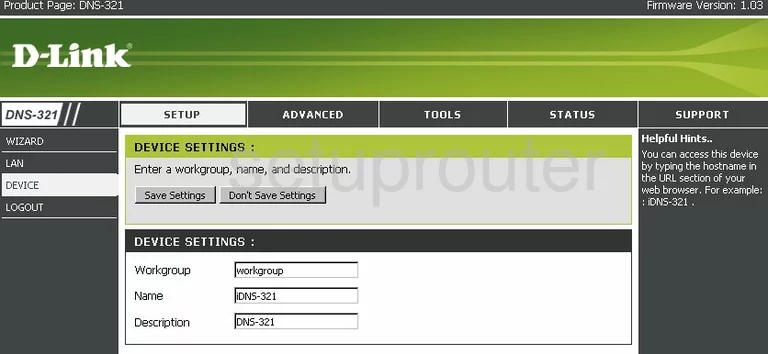
Dlink DNS-321 General Screenshot
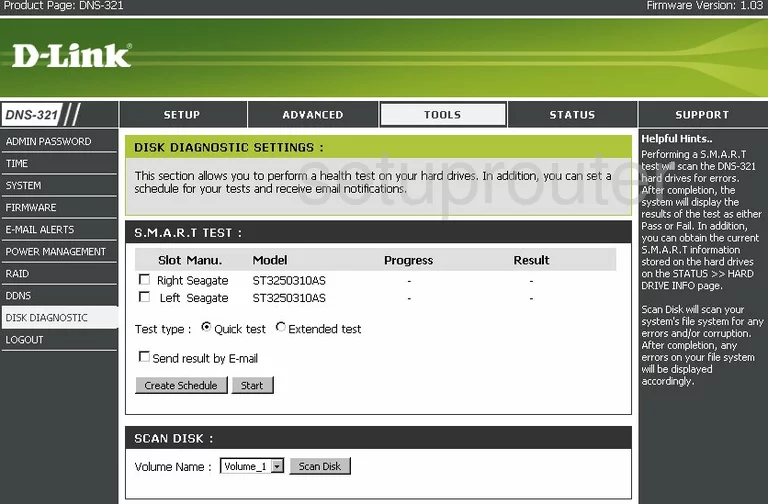
Dlink DNS-321 General Screenshot
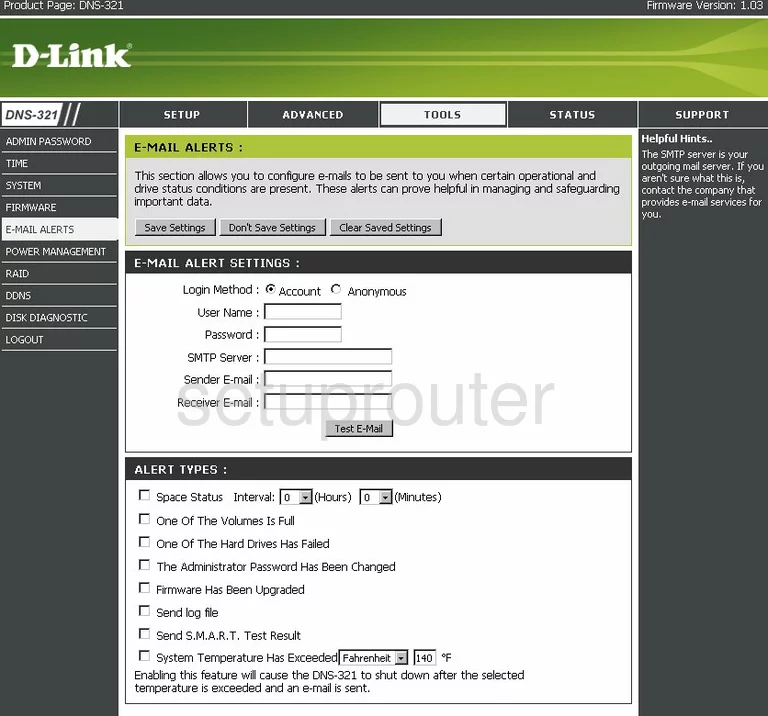
Dlink DNS-321 General Screenshot
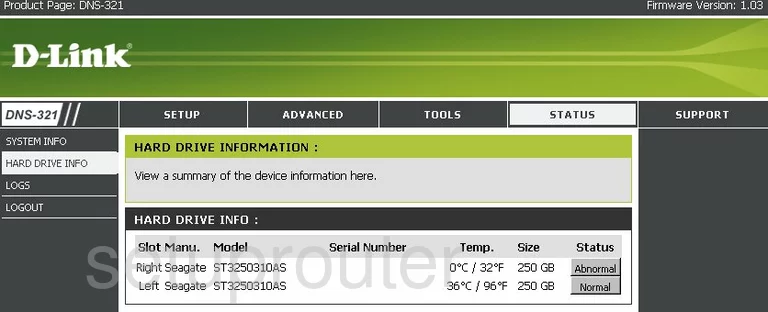
Dlink DNS-321 General Screenshot
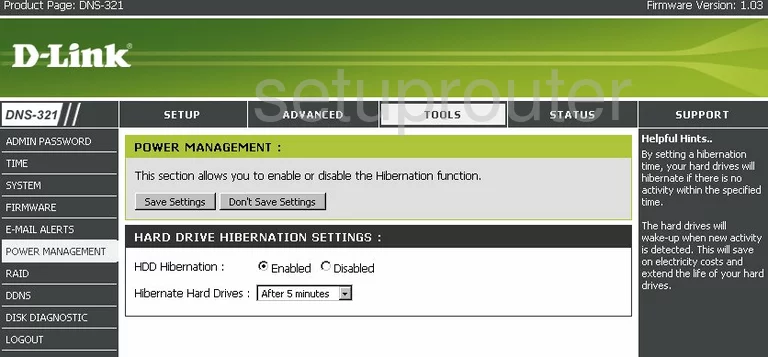
Dlink DNS-321 General Screenshot
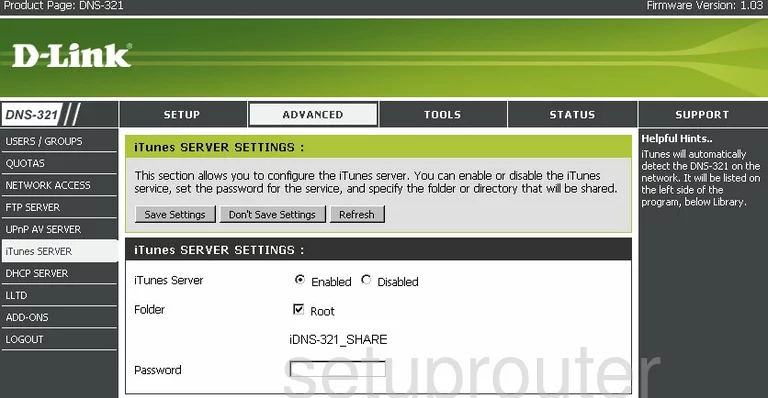
Dlink DNS-321 General Screenshot
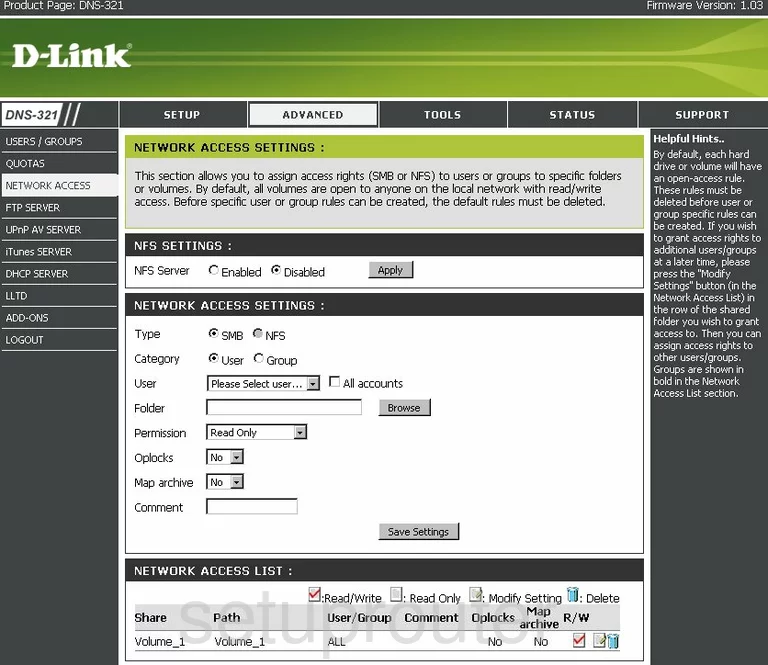
Dlink DNS-321 General Screenshot
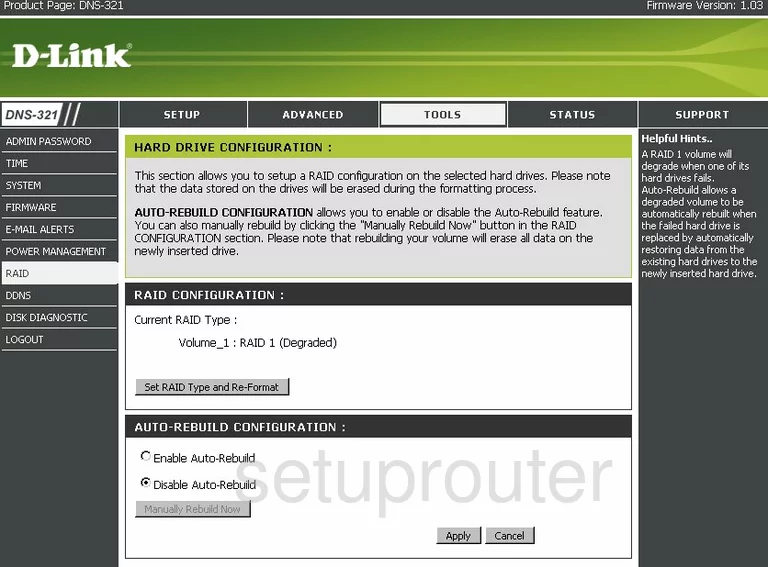
Dlink DNS-321 General Screenshot
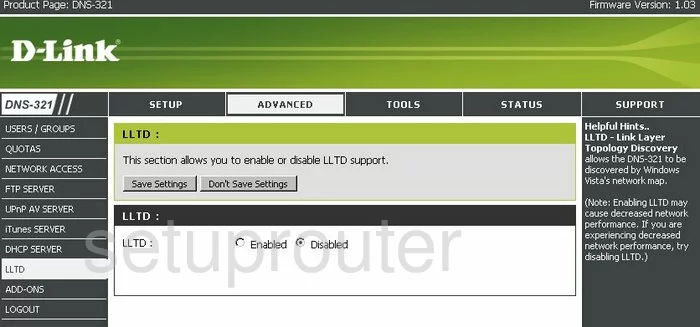
Dlink DNS-321 General Screenshot
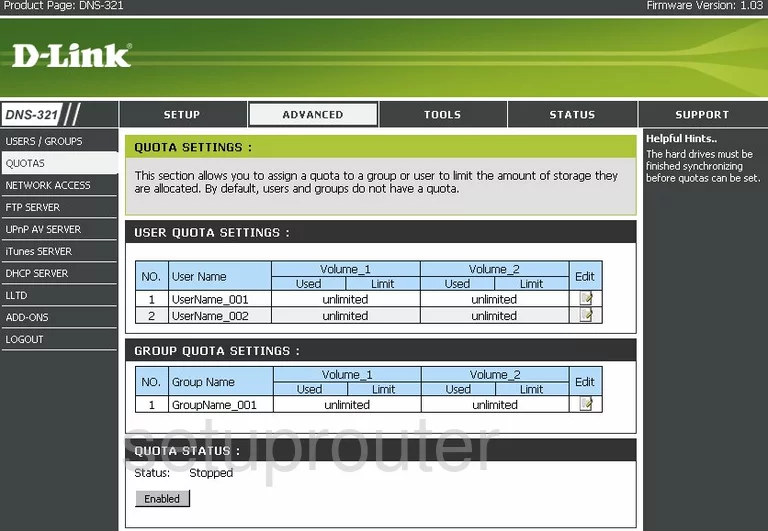
Dlink DNS-321 General Screenshot
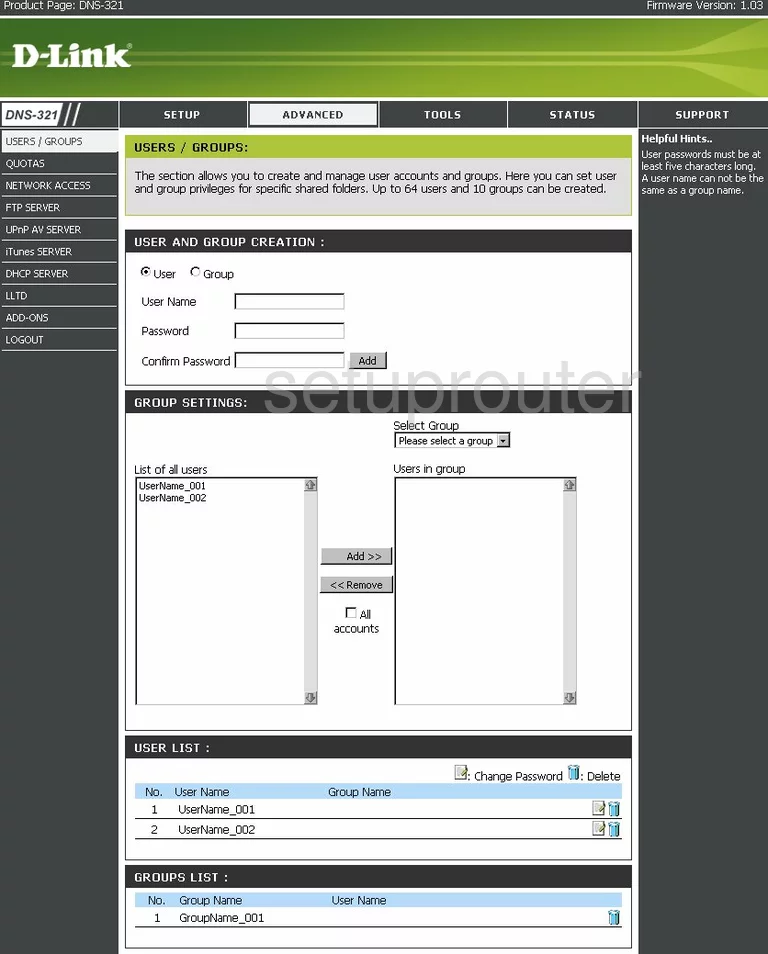
Dlink DNS-321 General Screenshot
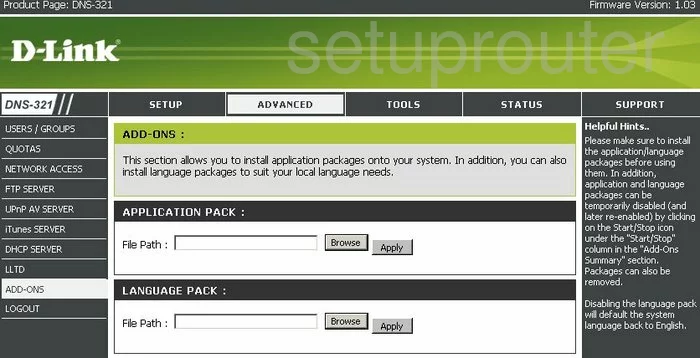
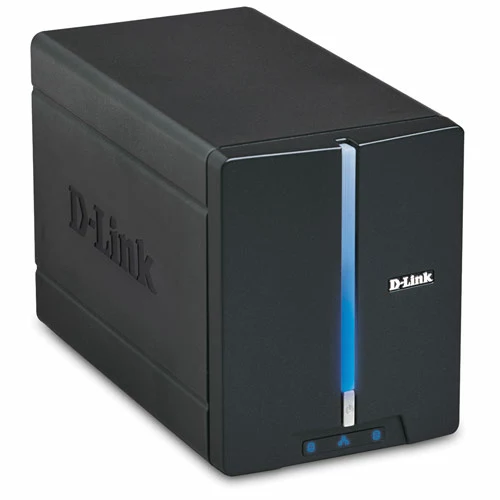
Dlink DNS-321 Device Image Screenshot
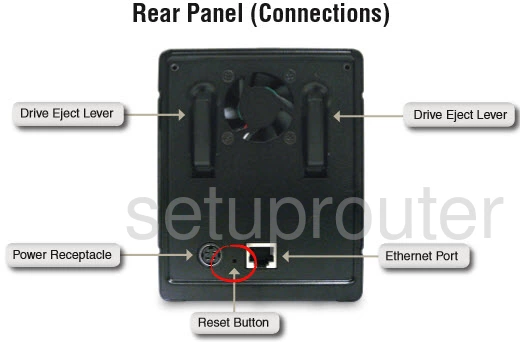
Dlink DNS-321 Reset Screenshot
This is the screenshots guide for the Dlink DNS-321. We also have the following guides for the same router:
- Dlink DNS-321 - How to change the IP Address on a Dlink DNS-321 router
- Dlink DNS-321 - Dlink DNS-321 Login Instructions
- Dlink DNS-321 - Dlink DNS-321 User Manual
- Dlink DNS-321 - How to change the DNS settings on a Dlink DNS-321 router
- Dlink DNS-321 - How to Reset the Dlink DNS-321
- Dlink DNS-321 - Information About the Dlink DNS-321 Router