These are user-submitted screenshots.
We'd love to see your screenshots on our site. Simply use our Router Screenshot Grabber, which is a free tool in Network Utilities. It makes the capture process easy and sends the screenshots to us automatically.
This is the screenshots guide for the Gemtek WLTFSR-115GN Ooredoo. We also have the following guides for the same router:
All Gemtek WLTFSR-115GN Ooredoo Screenshots
All screenshots below were captured from a Gemtek WLTFSR-115GN Ooredoo router.
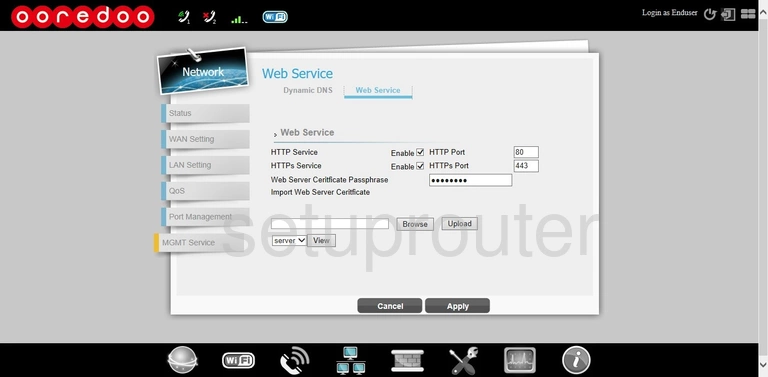
Gemtek WLTFSR-115GN Ooredoo Setup Screenshot
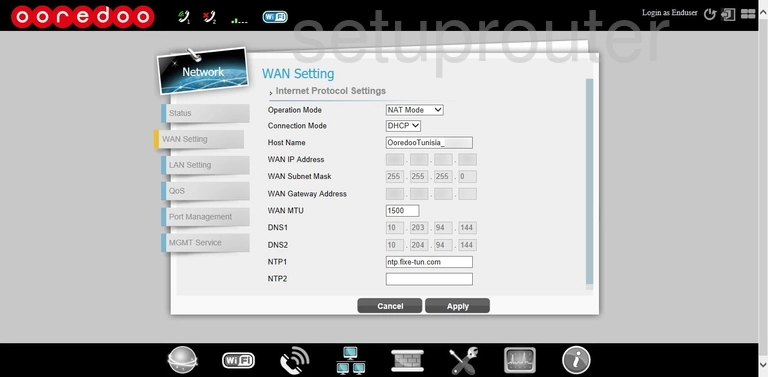
Gemtek WLTFSR-115GN Ooredoo Wan Screenshot
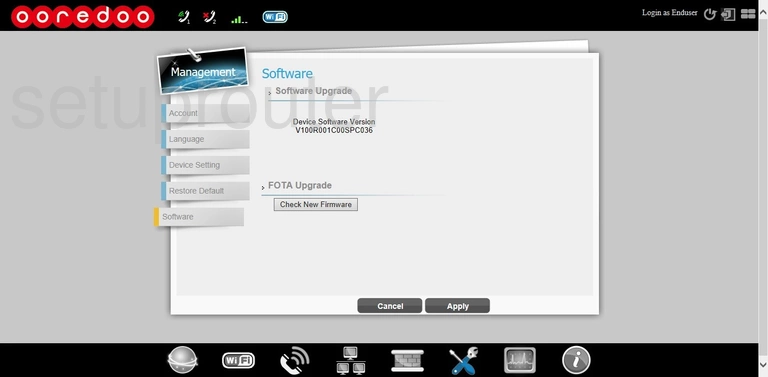
Gemtek WLTFSR-115GN Ooredoo Firmware Screenshot
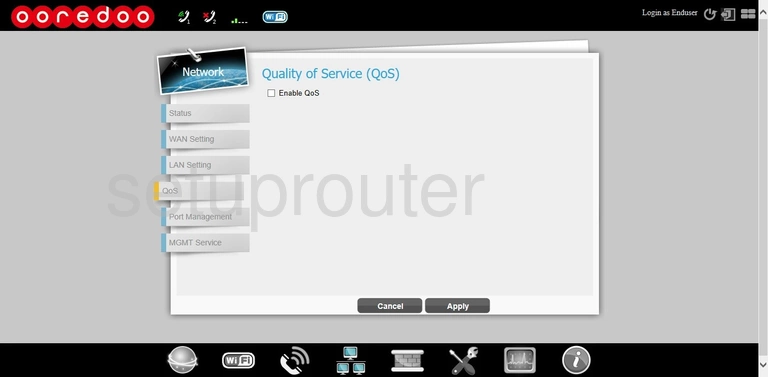
Gemtek WLTFSR-115GN Ooredoo Qos Screenshot
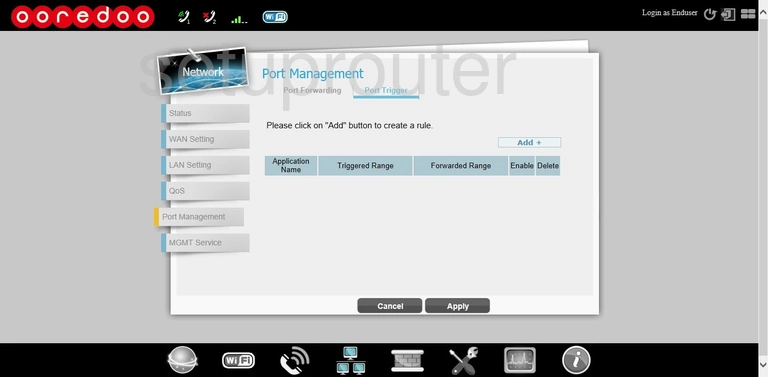
Gemtek WLTFSR-115GN Ooredoo Port Triggering Screenshot
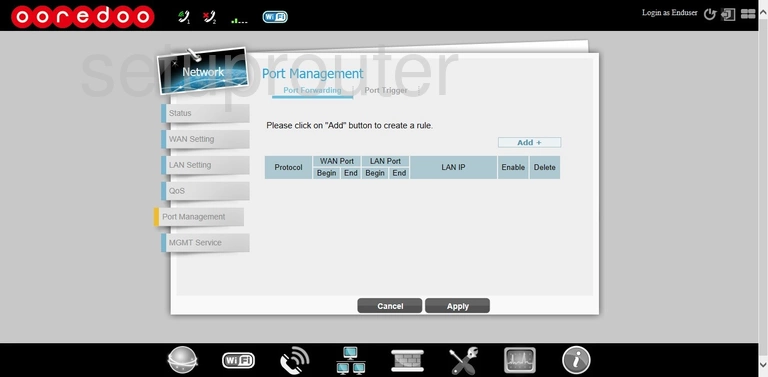
Gemtek WLTFSR-115GN Ooredoo Port Forwarding Screenshot
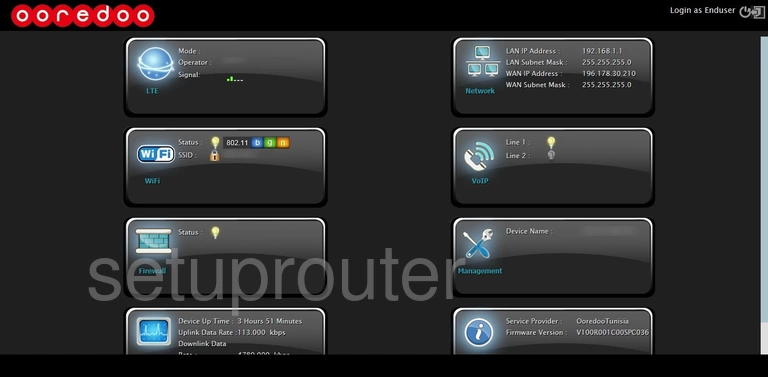
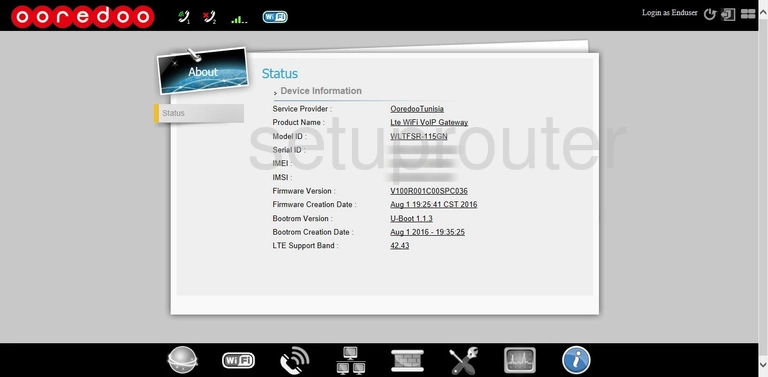
Gemtek WLTFSR-115GN Ooredoo Status Screenshot
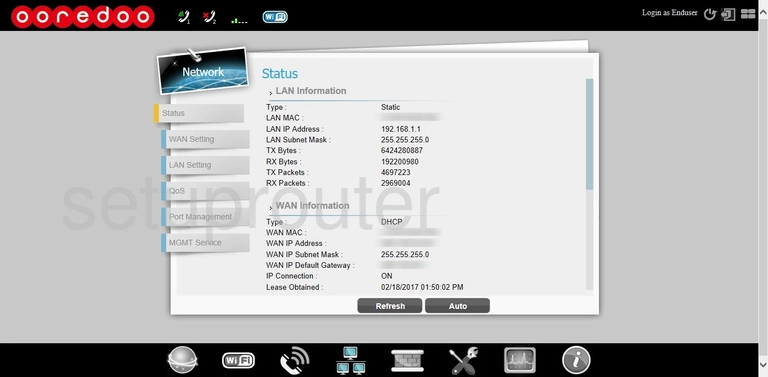
Gemtek WLTFSR-115GN Ooredoo Status Screenshot
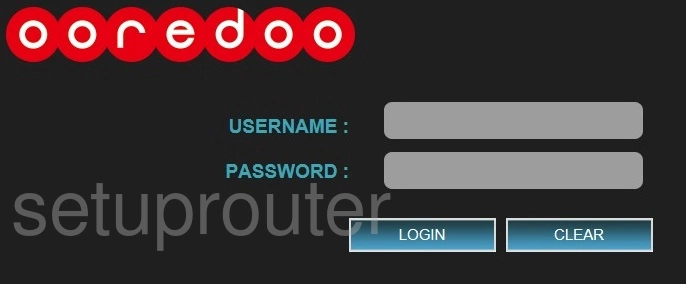
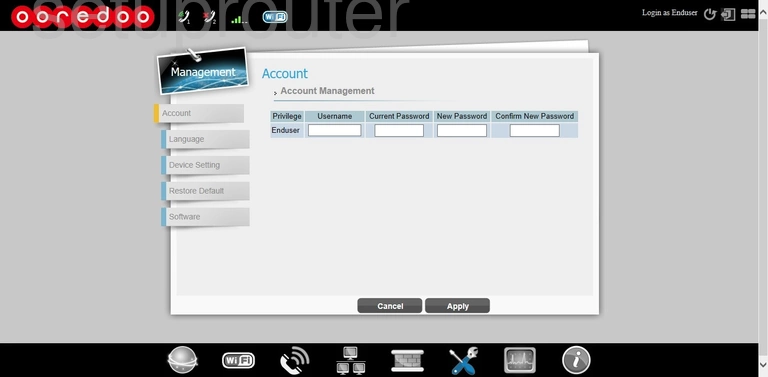
Gemtek WLTFSR-115GN Ooredoo Login Screenshot
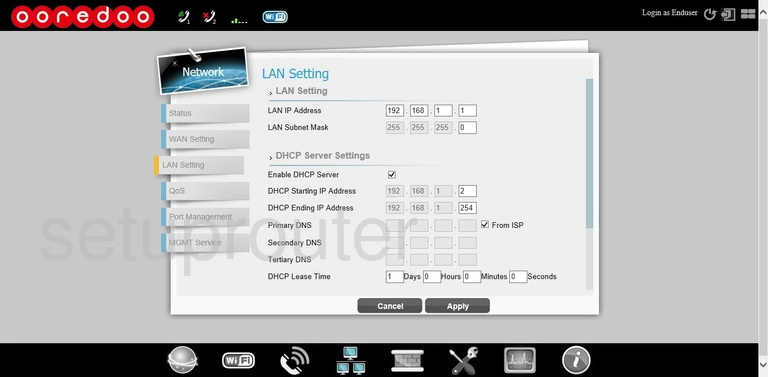
Gemtek WLTFSR-115GN Ooredoo Lan Screenshot
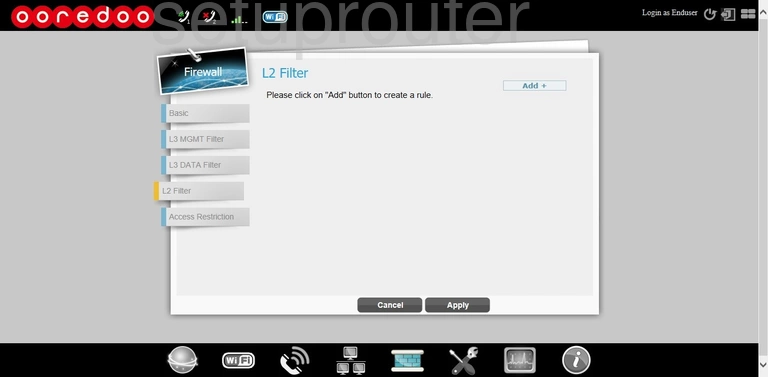
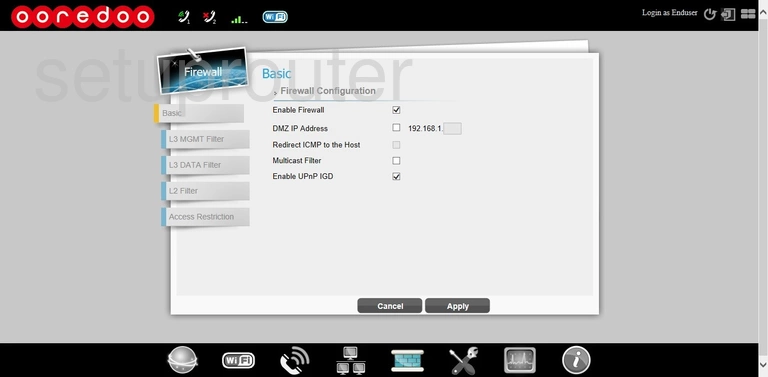
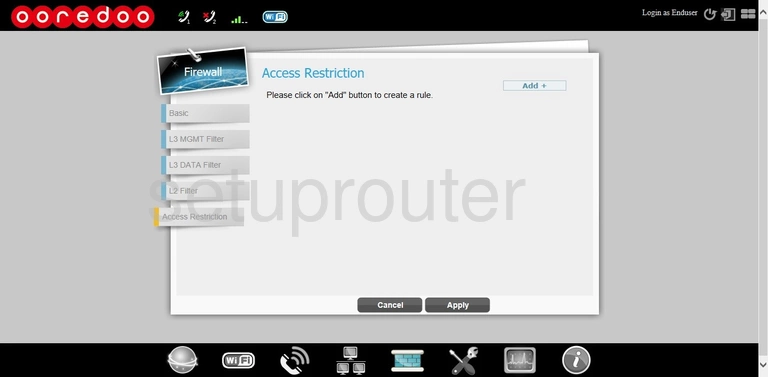
Gemtek WLTFSR-115GN Ooredoo Firewall Screenshot
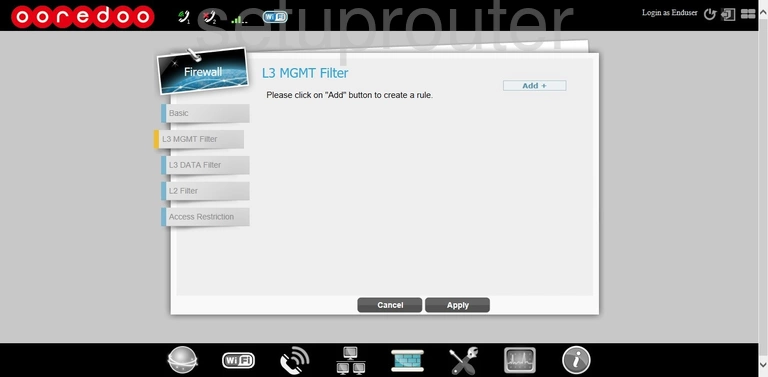
Gemtek WLTFSR-115GN Ooredoo Firewall Screenshot
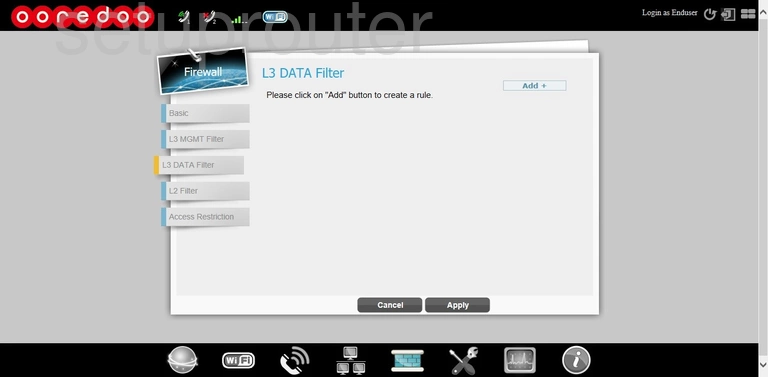
Gemtek WLTFSR-115GN Ooredoo Firewall Screenshot
Gemtek WLTFSR-115GN Ooredoo Setup Screenshot
Gemtek WLTFSR-115GN Ooredoo Firewall Screenshot
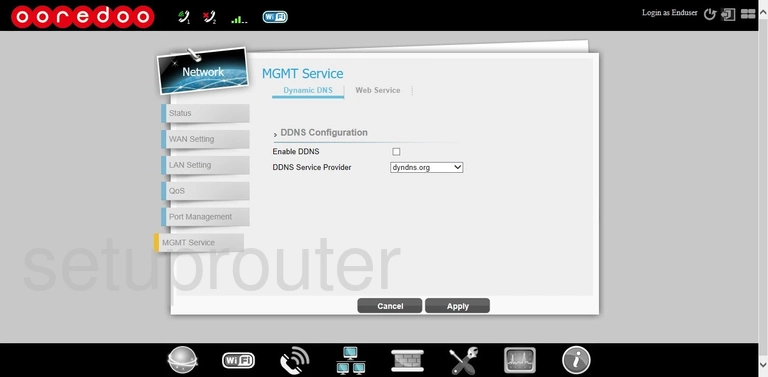
Gemtek WLTFSR-115GN Ooredoo Dynamic Dns Screenshot
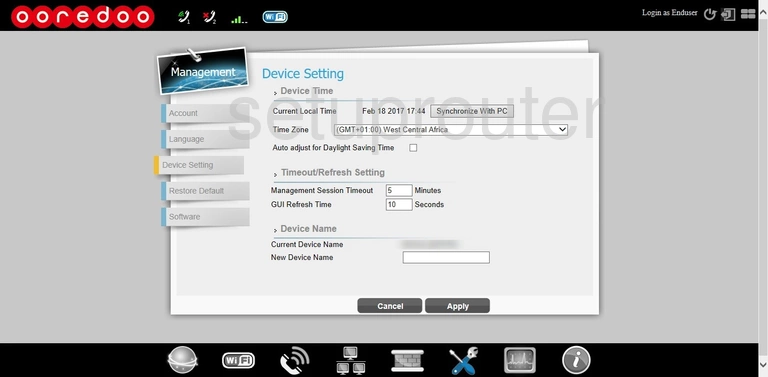
Gemtek WLTFSR-115GN Ooredoo Time Setup Screenshot
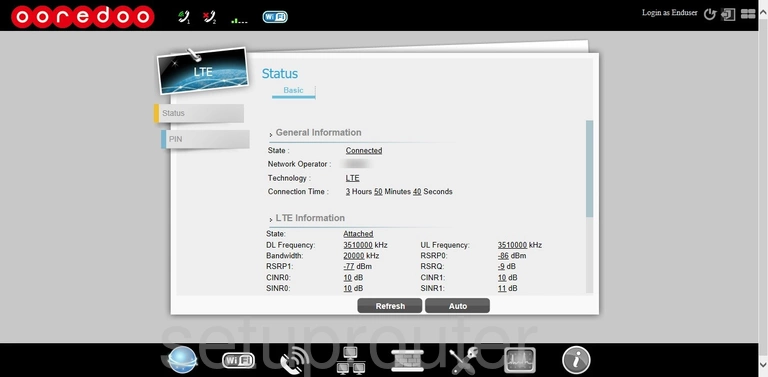
Gemtek WLTFSR-115GN Ooredoo Status Screenshot
Gemtek WLTFSR-115GN Ooredoo Access Control Screenshot
Gemtek WLTFSR-115GN Ooredoo Access Control Screenshot
This is the screenshots guide for the Gemtek WLTFSR-115GN Ooredoo. We also have the following guides for the same router: