This page will show you how to setup a port forward on the Dlink DFL-700 Firewall router.
If you are not sure what port forwarding is you can read our What is Port Forwarding guide to help get started.
Other Dlink DFL-700 Firewall Guides
This is the port forwarding guide for the Dlink DFL-700 Firewall. We also have the following guides for the same router:
- Dlink DFL-700 Firewall - How to change the IP Address on a Dlink DFL-700 Firewall router
- Dlink DFL-700 Firewall - Dlink DFL-700 Firewall Login Instructions
- Dlink DFL-700 Firewall - Dlink DFL-700 Firewall User Manual
- Dlink DFL-700 Firewall - How to Reset the Dlink DFL-700 Firewall
- Dlink DFL-700 Firewall - Information About the Dlink DFL-700 Firewall Router
- Dlink DFL-700 Firewall - Dlink DFL-700 Firewall Screenshots
Configure your Computer to Have a Static IP Address
Port forwarding the Dlink DFL-700 Firewall to your computer can be more reliable if you first configure a static IP address on your computer. We have instructions to setup a static IP address for Windows 7, Windows 8, and a variety of other devices on our Static IP Address Settings page.
Please note that while setting up a static IP address on your computer is optional, it is still a very good idea to go ahead and do it. In the long run it will make your port forward much more reliable.
Login To The Dlink DFL-700 Firewall
To get started forwarding a port you need to login to your Dlink DFL-700 Firewall router. If you are already logged in you can skip this step.
To login to the Dlink DFL-700 Firewall, follow our Dlink DFL-700 Firewall Login Guide.
Forward a Port on the Dlink DFL-700 Firewall router
Find The Port Forwarding Section of the Dlink DFL-700 Firewall
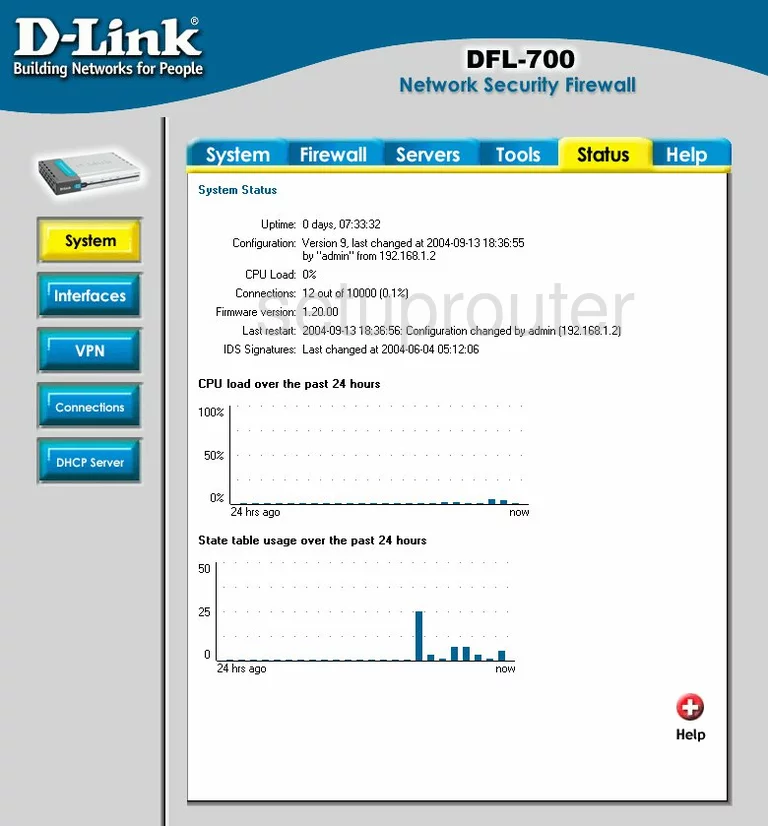
You should begin on the System Status page of the Dlink DFL-700 router. To forward a port/ports, click the link at the top of the page labeled Firewall. Then, to the left choose Port Mapping.
Configure the Port Forwarding section of your Dlink DFL-700 Firewall
Now to forward a port, make the following changes:
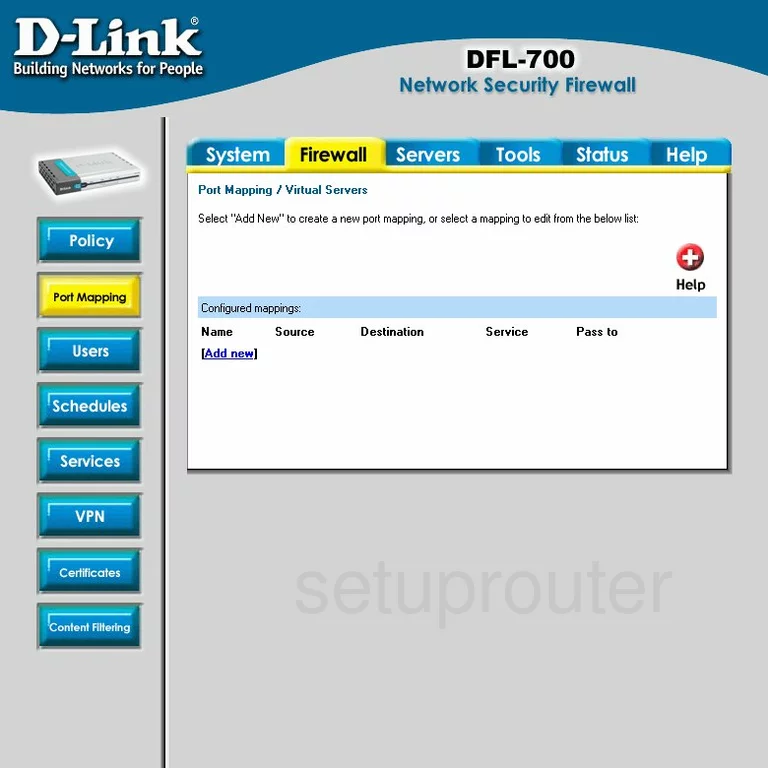
On this new page, click the blue link in the center section of the page labeled Add new.
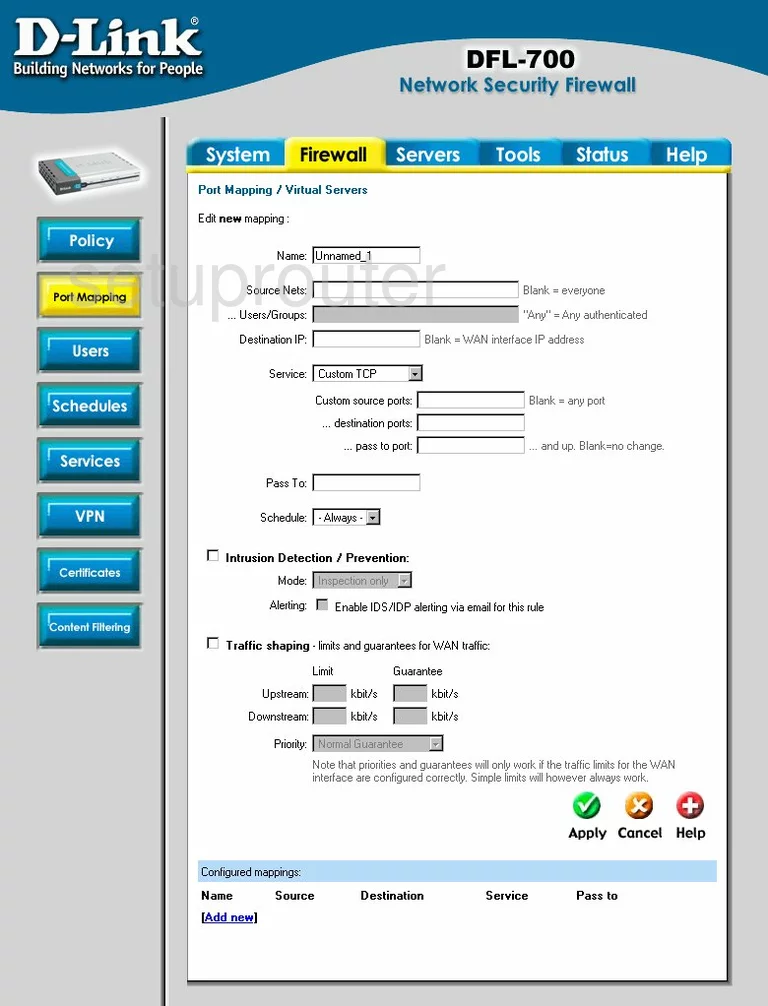
Once on this page, enter the name of the program, or something similar in the box labeled Name.
Leave the next three boxes blank. They are Source Nets, Users/Group, and Destination IP.
Below that is the Service drop down menu. Select the type of protocol or service you need to use to forward these ports.
Leave the Custom source ports box empty.
In the destination ports, enter the ports you want to forward. You can enter them as a list, like 22,25,29,18, or a range, 80-100, or even a combination of both, 22,26,80-100.
The pass to port box can also be left blank.
Enter the LAN IP address of the computer you are forwarding these ports to in the box labeled Pass To.
Then, use the Schedule drop down menu to pick Always.
Click Apply and you are finished.
Test if Your Ports are Open
Now that you have forwarded ports on the Dlink DFL-700 Firewall you should test to see if your ports are forwarded correctly.
To test if your ports are forwarded you should use our Open Port Check tool.
Other Dlink DFL-700 Firewall Info
Don't forget about our other Dlink DFL-700 Firewall info that you might be interested in.
This is the port forwarding guide for the Dlink DFL-700 Firewall. We also have the following guides for the same router:
- Dlink DFL-700 Firewall - How to change the IP Address on a Dlink DFL-700 Firewall router
- Dlink DFL-700 Firewall - Dlink DFL-700 Firewall Login Instructions
- Dlink DFL-700 Firewall - Dlink DFL-700 Firewall User Manual
- Dlink DFL-700 Firewall - How to Reset the Dlink DFL-700 Firewall
- Dlink DFL-700 Firewall - Information About the Dlink DFL-700 Firewall Router
- Dlink DFL-700 Firewall - Dlink DFL-700 Firewall Screenshots